Welcome to the Let’s Talk's telephony features, where you can transform your district's communication experience. These features empower you to use the platform for phone lines and texting, efficiently managing incoming and outgoing calls, agent queues, and more. Below is a guide to help you set up phone numbers in Let's Talk effectively.
Phone Number Settings
With Let’s Talk, users can easily request and manage multiple phone numbers via the Numbers settings page. Here's how to get started:
Request/Create Number
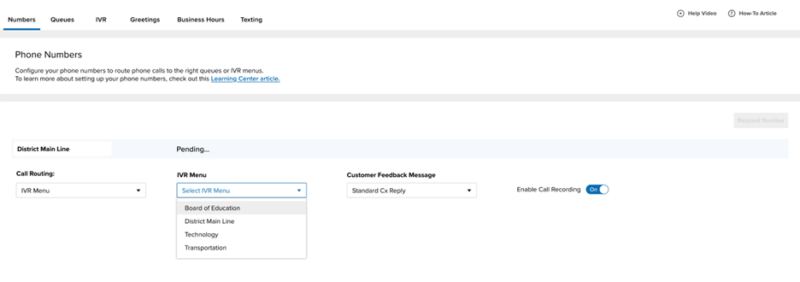
- Click on "Request Number" to add your first number.
- Choose a name for the phone number, which will be displayed throughout the application.
Call Routing

Decide how the phone number will route:
- Queue: Choose which queue to route calls to.
- Call Center Only: Select which IVR to route calls to.
- Greeting: Determine which recording to play.
Customer Feedback Message
Select a Cx Text Message from your list of Saved Replies for gathering feedback for calls, texts, inbound, and outbound calls from this number.
Call Recording
Choose whether calls are recorded for that number or not, affecting both inbound and outbound calls.
Available to Outgoing Calls
Decide if this number is eligible for outbound calls! Select a queue, or multiple, to have the agents in these queues available to make outbound calls. Add or edit agents within the Queue Settings page.
Please note that live outgoing calls can be seen in the Call Center Dashboard under the Live Calls section.
Queue Settings
A queue is a location where you can route phone calls so calls can be assigned to the right topic and agents, and callers can have the right experience (with the right greetings). You can now configure queues separately from phone numbers to allow for more advanced call routing capabilities coming soon to Let's Talk.
Let's streamline your queue topics, assign agents, and customize other settings:
Create a Queue
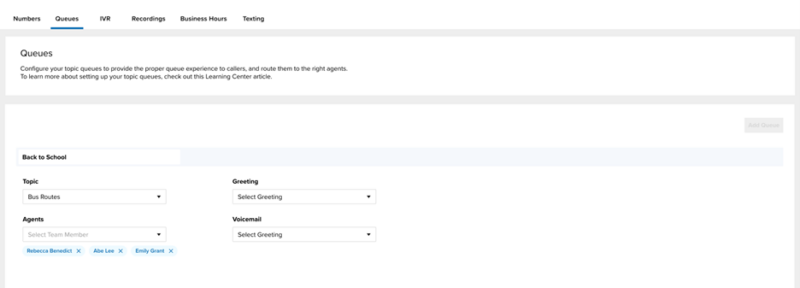
- Click on "Add Queue" to create your first topic queue.
- Enter a name for the queue, which will be displayed across the application.
Queue Topic and Agents
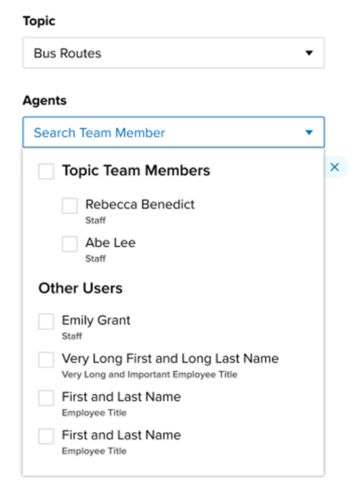
- Assign a topic to calls in the queue.
- Select agents who will handle those calls, including both topic team members and additional agents from outside the team.
Initial Queue Greeting
This is the greeting that plays when a caller first enters the queue.
Repeating Queue Greeting
The greeting plays every 60 seconds after the initial with music in between.
In-Queue Voicemails
When toggled on, callers waiting in the queue can leave a voicemail by selecting a preset number.
Call Priority
Toggle on the High Priority option within queue settings to have these calls answered before queues that do not have this option turned on.

To turn on High Priority for a queue please access Settings > Phone and Text > Queues > select the queue.
Tips:
- If agents are assigned multiple queues, they will be presented with calls from queues labeled as High Priority first.
- Calls in the queue management page will be ordered based on priority.
What happens to calls in the queue when no agents are available?
Callers will be presented with a message to leave a message and these calls will be routed to voicemail.
Greetings Settings
Enhance caller experience with personalized greeting messages.
Creating Greetings

- Click on "Add Greeting" to upload audio files for greetings.
- Each greeting requires a name and accepts mp3 and wav files.
Update Greetings
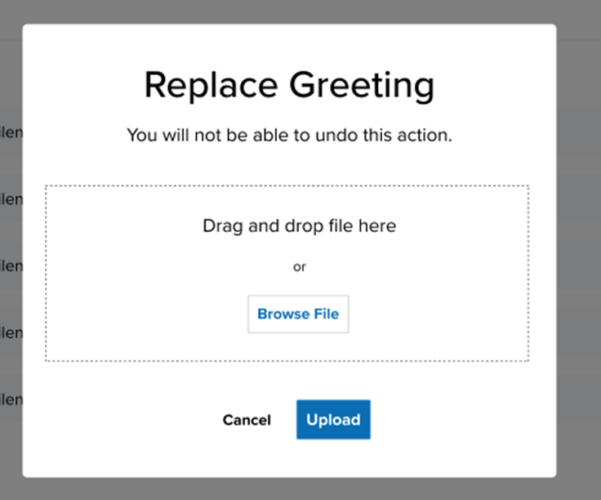
Click the Replace button to easily re-upload audio files to update greetings or change their names.
Texting Settings
Configure text settings and manage your library of saved replies.
Phone Number Text Settings

Manage text settings for each phone number associated with your account. Select a Topic, Auto-Reply Message, Cx Score Text Message, and identify your Text Message Team.
Associating Text Dialogues with Topics
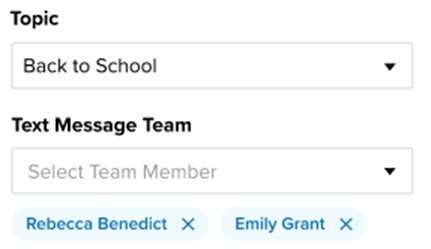
Assign a topic to text dialogues for efficient organization.
Auto Reply
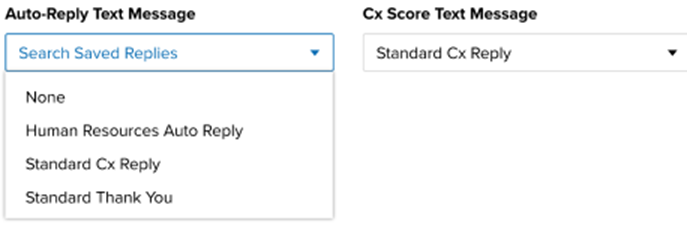
Choose an Auto-Reply message from your Saved Replies list or select "None."
Saved Replies
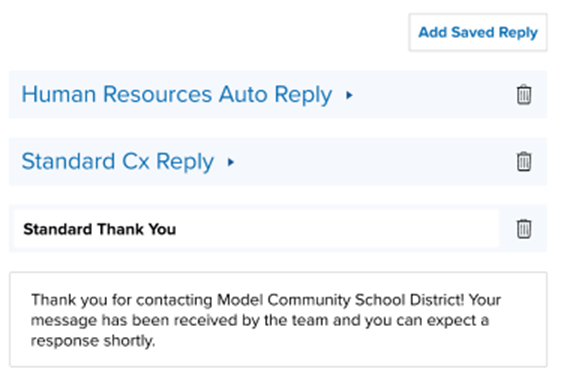
Create and manage saved replies for dialogues, Cx Messages, or Auto-Reply Messages.
- Add a Saved Reply by selecting “Add Saved Reply.”
- Edit the name and message for each Saved Reply.
With these comprehensive telephony settings, you can optimize your communication workflow and deliver exceptional experiences to your stakeholders with phone lines and texting. If you have any further questions or need assistance, don't hesitate to reach out to our support team via the "Need Help" button on the left side of the page.
Tips and Tricks:
Movable Call Panel
You can now drag and drop the call panel to make the page view more accessible.
Queue Transfers
Along with transferring a call to an agent, you can now directly transfer calls to other queues.
From the call panel, select Transfer > Direct Transfer, then type in the name of the queue. You’ll be able to see the availability status of agents—whether they’re available, busy, or offline. If no agents are online, the call cannot be transferred.
